
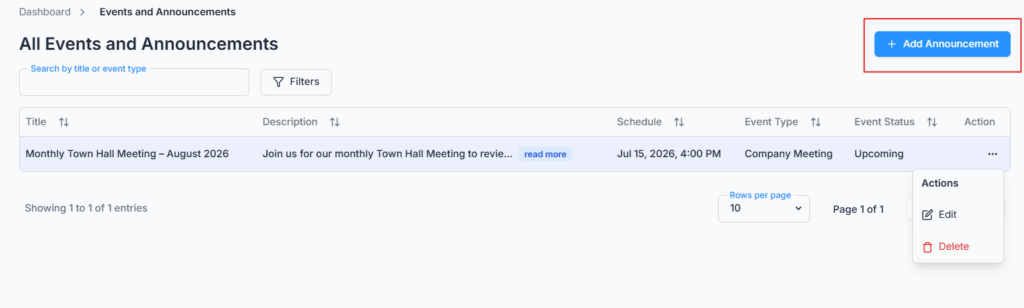
On Admin → Announcements, create and publish office-wide events or announcements. Each entry can be a simple notice or a full event — with a description, date & time, location, type, and status — so this page covers both quick announcements and scheduled events in one place.
Once created, employees will instantly see them on their dashboard — just like a digital notice board. The dashboard shows the 20 most relevant entries, with Ongoing events listed first, then Upcoming, then Completed, so setting the right Status keeps the most important items at the top for your team.
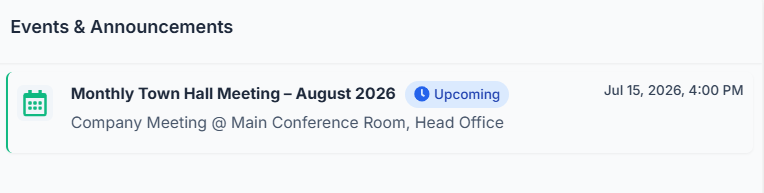
Use this to share company updates, celebrations, or important reminders.
Add Announcement #
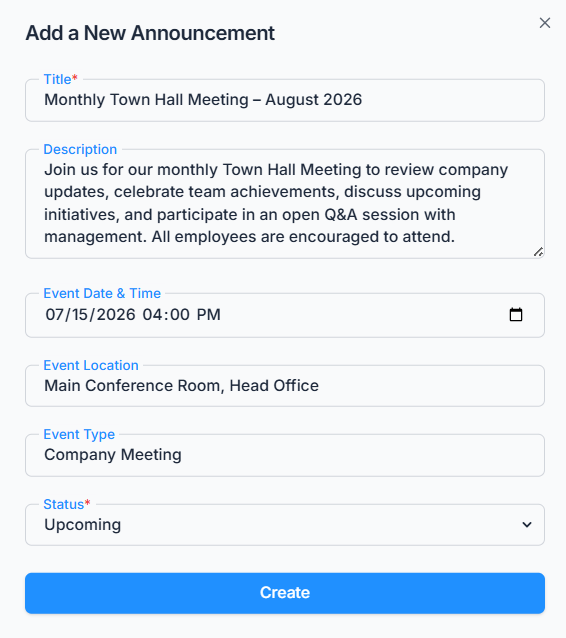
Click Add Announcement and fill in:
- Title — required, 5 to 100 characters.
- Description — optional, for the full message or details.
- Event Date & Time — optional; leave it blank for a plain announcement, or set it for a scheduled event (shown in your company’s timezone).
- Event Location — optional free text.
- Event Type — optional free text, e.g. Holiday, Meeting, Celebration — type whatever label makes sense for you.
- Status — required; choose Upcoming, Ongoing, Completed, Cancelled, Postponed, or Rescheduled.
Edit & Delete Announcement #
The table lists every announcement with its Title, Description, Event Date & Time, Type, and Status. Use the Action menu to edit any of these fields, or delete the announcement — deleting is immediate with a simple confirmation, since announcements aren’t referenced anywhere else in the system.