
The Employees module in Office-X helps you manage your staff efficiently. Adding a new employee is simple—just follow these 5 steps.
Step 1: Employment Info #
Enter basic details and assign organizational attributes for the employee.
Basic Details
Include essential information such as Name, Employee ID (auto-generated per department, e.g., HR → HR00001, Development → DEV00001; editable if needed), Contact, Email, etc.
Department & Designation
Assign the employee to the correct Department and Designation from the options configured in Admin → Department / Designation.
Pay Type & Employment Status
Select the appropriate Pay Type and Employment Status from the predefined options configured under Admin → Pay Type & Employment Status.
Pay Rate
After selecting the pay type, enter the pay rate in this field.
Reporting Manager
Assign a reporting manager for this employee.
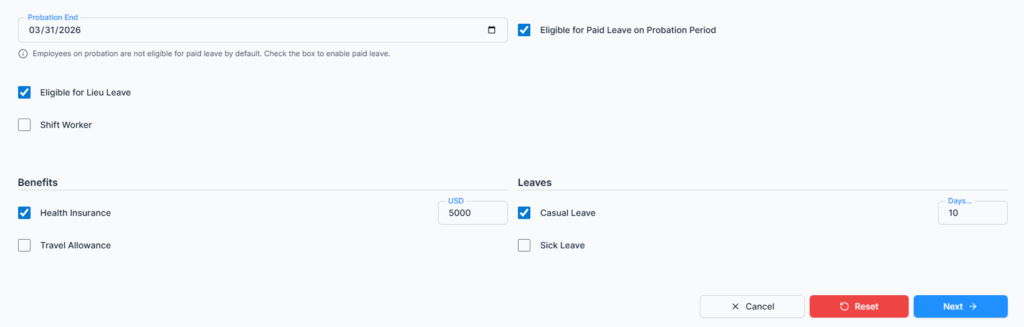
Joining Date & Probation Period (if applicable)
Select the employee’s official start date and specify the probation duration if any.
- If a probation period is set, you can toggle Eligible for Paid Leave During Probation to allow the employee to use paid leave while on probation.
Overtime & Lieu Leave Options
Employees can be eligible for either Overtime or Lieu Leave at a time, not both.
- Eligible for Overtime: Select if this employee can receive overtime pay. This will display two additional fields:
- Overtime Hourly Rate
- Daily Overtime Threshold (hours) — e.g., if set to 8 hours, work beyond 8 hours counts as overtime.
- Eligible for Lieu Leave: Select if extra hours can be saved as leave for later use. If not selected, these rules won’t apply.
Note: Lieu Leave is only applicable for employees with salary-based pay type, not hourly employees
Shift Worker Options
- Check this box if the employee has no fixed work shift.
- If checked, shifts are managed through the Work Shift module.
- If not checked, set the employee’s work hours directly in the employee table (e.g., 9 AM–6 PM) with customizable break hours.
Benefits & Leave Options
Assign applicable benefits and leave policies based on your company’s rules.
Step 2: Personal Info #
Provide personal details and upload the employee’s profile information.
- Profile Photo (300×300 px, max 1 MB, JPG/PNG)
- Gender
- Blood Group
- Date of Birth
- Personal Email
- Phone
- Emergency Contact
Step 3: Present Address #
- Address Line 1 & 2
- Country, State, City
- Post Office, Postal Code and other necessary information.
Step 4: Permanent Address #
- Enter permanent address
- Option to copy from Present Address for convenience and other necessary information.
Step 5: Bank Details (Optional) #
- Bank Name & Branch
- Account Number & Account Holder Name
- Bank Routing Number
- TIN / SSN / SIN and other necessary information.
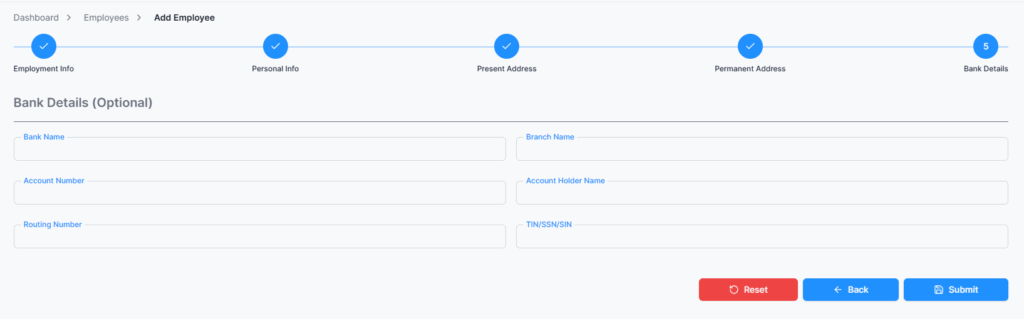
Submit #
Click Submit to successfully add the employee to the system.
Note: After submitting a new employee:
- The employee appears in the Employee List but cannot log in until their status is set to Active and a seat is assigned.
- Once the employee is Active and a seat is assigned, login details are automatically emailed to the employee, including username and temporary password.
- The employee must change the password on their first login.